
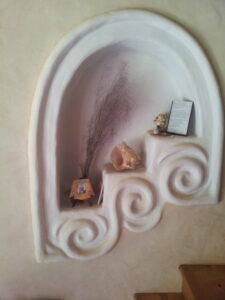
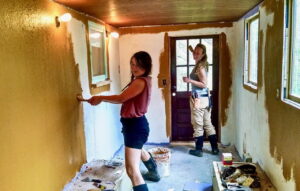
Do It Yourself (DIY) paint is a fabulous way to reduce the presence of toxins in your home. Not to mention that it’s beautiful and improves the “vibe” of a space (the energy of clay tends to be calming and grounding). Plus, it’s so safe that children, elders, or other folks who wouldn’t want to mess with synthetic paints can join the fun and get involved. Other names for this kind of paint are earthen paint and aliz.
How to Make Natural DIY Paint
To make your own DIY paint, you only need a few simple ingredients: aggregate (see below for an explanation), white powdered clay, wheat paste (recipe follows), and water – plus pigments as desired. Basically, you mix all the ingredients together thoroughly, and voila!
Applying this kind of paint is a little different than brushing on latex or other standard paints. We’ll get into that a little bit later. Here in the Asheville area, Highwater Clays is a great local source of materials. They do ship, but clay is very heavy, so it makes sense to seek out a local source before mail-ordering this stuff. A 5-gallon bucket is a great vessel to mix your paint. Use a paint mixer attached to a power drill to combine everything thoroughly.

DIY Paint Recipe
- 2 parts aggregate (see below)
- 2 parts white powdered clay (White China or Kaolin works well)
- 1.5 parts wheat paste (recipe follows)
- 1.75 to 2.25 parts water
- Pigments as desired

Aggregate
Aggregate can be made from a variety of materials. A combination of glass-blowing sand and mica dust is best for smooth DIY paint that doesn’t shed. That’s because this kind of sand has way smaller particles than regular play sand. Mica dust will give your wall a beautiful shimmer when it’s properly burnished.
Use all glass-blowing sand and no mica as your aggregate for your first coat. Then use 3 parts glass-blowing sand and 1 part mica dust for your final coat. This gets translated into 1.5 parts glass-blowing sand and .5 parts mica for your overall recipe, although you will mix two separate batches.
Regular play sand will also work as an aggregate in DIY paint. Both mica dust and glass-blowing sand are more expensive than this coarser option, so your choice may depend on your budget.
How to Make Wheat Paste for DIY Paint
- 1 part bleached white flour
- 1 part cold water
- 5 parts boiling water (in a pot)
Use bleached white flour. Don’t be tempted to use whole  grain flour; don’t use spelt flour, or teff, or buckwheat. This might mean making a special trip to the store, but it will be a trip worth taking. You aren’t going to eat this wheat paste. Whole grain flours just won’t work in natural DIY paint.
- Boil your 5 parts of water. Keep it actively boiling throughout the process.
- Whisk the flour with the cold water in a separate bowl or bucket until you have a very smooth paste with zero lumps.
- Now drizzle the flour/cold water mixture into the actively boiling water that is still on the stove. Whisk as you drizzle (it’s easier with 2 people).
- Cook for about 5 minutes, stirring, until your wheat paste starts to get slightly clear.
- At this point, you should have lumpless wheat paste. If you do have lumps, strain them out and discard them.
Pigments (Colors!) for Natural DIY Paint
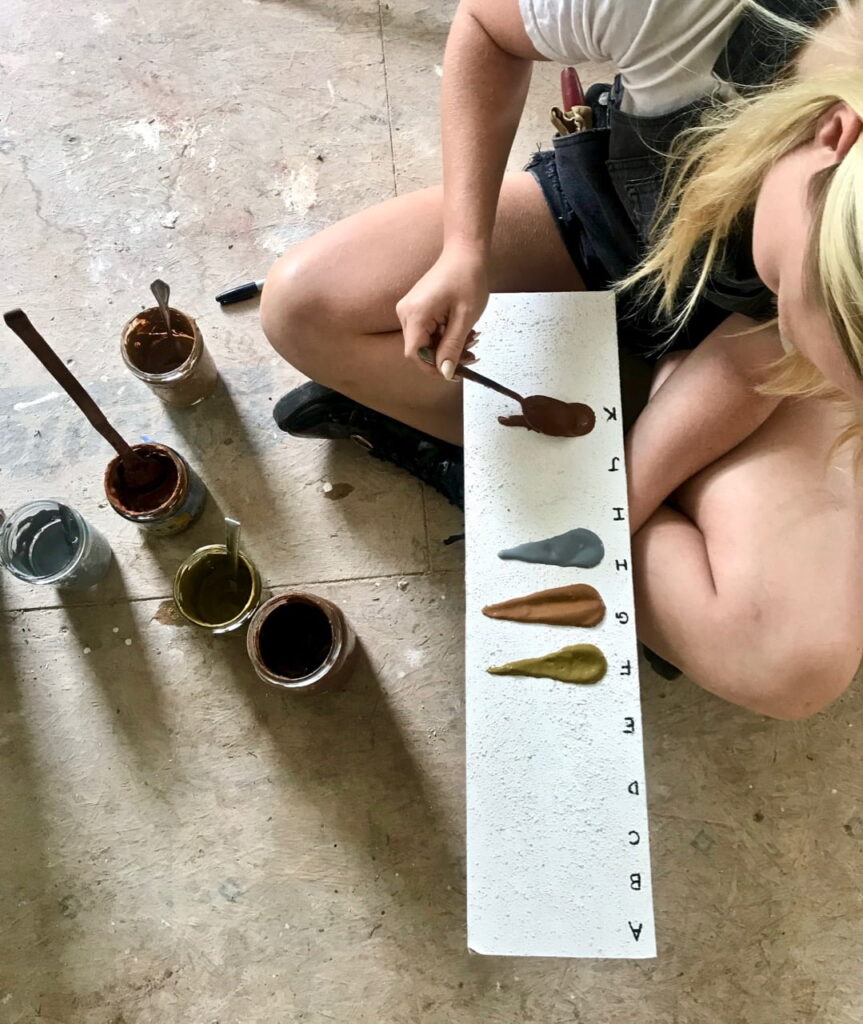
Many different natural pigments can give color to DIY paint. Of the many powdered metals that work well, iron oxides are the easiest to find and they are completely non-toxic. Iron oxide and rust are synonymous, so you are basically working with a wide variety of colors of rust when you choose this group of pigments. From iron oxides, you can mix up all sorts of colors, most of which come out in various shades of yellow, brown, red and black. Even though we’ve managed to get some colors that look somewhat blue and green from iron oxides, many folks say that they look pretty gray. Perhaps beauty really is in the eye of the beholder, as it’s said.
To get hands-on guidance about DIY paint and other natural building modalities like natural plasters and working with rough-cut wood, sign up for our Natural Building and Tiny House Workshop.
How Much Pigment to Use
How much pigment you use to color your DIY paint is up to you and depends on the color you are going for. In order to text your pigment mixes, you can make samples in one cup sizes. A general rule of thumb is to use somewhere between 1 teaspoon (t) and 2 Tablespoons (T) of a given pigment per cup (c) of paint.
There happen to be 16 Tablespoons in one cup and 16 cups in one gallon. This ratio is very convenient when testing paint pigment mixes. That’s because it means you’ll get the same color by using 1T of pigment in a 1c sample as you will when you mix 1c of the same pigment with 1 gallon of paint. Furthermore, there are 3t per 1T. So, if you use 1t of pigment per cup of paint for your sample, you will use ⅓c pigment per gallon of paint.
One of our favorite pigment recipes:
- 1 gallon paint
- 2 c red iron oxide
- ⅓ c yellow iron oxide
This is equivalent to the sample amount:
- 1 c paint
- 2 T red iron oxide
- 1 t yellow iron oxide
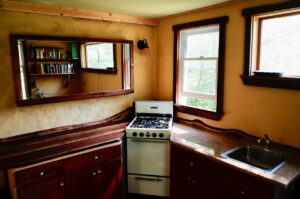
What Surfaces Can DIY Paint Be Applied To?
Natural, DIY paint can be used on a variety of surfaces. Earthen walls, plaster walls and drywall are the best choices, but it’s worth a try on others. If you’re not sure it will work, just mix up a small sample batch and do a test patch. To apply DIY paint to drywall, start with a layer of paint primer mixed with glass-blowing sand; make sure to let it dry before applying DIY paint. Preparing the wall like this will help the paint to stick much better.
How Permanent Is DIY Paint?
DIY paint will come right off the wall if it’s wiped down with a thoroughly wet rag. In similar fashion, if it’s kept dry and not abraded much, it will stay on the wall. Given the impermanent nature of this paint, it can be helpful to store a quart or two of your color in the freezer. That way, you can touch up as needed, and match the exact color of your paint in the future.
How Many Square Feet Will a Gallon of DIY Paint Cover?
One gallon of DIY paint will cover about 55 square feet.
Moist Substrate = Happy Substrate
Moisten your wall before you apply each coat of DIY paint. A spray bottle works great to do this. Your next coat will stick much more effectively if it’s applied to a moist surface.
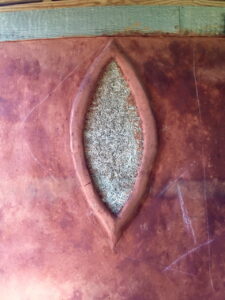
Burnishing for a Smooth, Shiny Finish
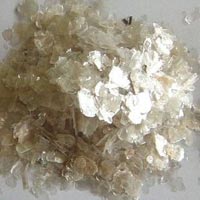 Mica dust makes DIY paint shine
It’s essential to burnish DIY paint in order to create a beautiful final wall that does not shed. To do this, wait for your final coat to dry to “leather hardness” (not quite dry). Then, gently rub your wall with a large yellow household sponge that is clean and moist. This process will lay down and clean any mica that may be contained in the final coat, causing it to shimmer beautifully. The shiny quality of burnished DIY paint is especially nice in smaller spaces, like tiny houses.
There is no reason to burnish any coat except the final one.
A Note About Trim
Make sure there is some sort of baseboard trim in the room that you want to paint. If you don’t have baseboard trim, the wall is much more likely to shed, especially as you sweep or vacuum.
 On Facebook
 On Instagram