
On This Page
We welcome you to read through this page for a whole-picture perspective on our Timber Frame Workshop. If you’re looking for specific information, you can use the following links to skip around:
What Is Timber Framing?
Timber framing has been used for centuries to build beautiful, durable structures that stand the test of time and don’t require any screws or nails to hold them together. This versatile technique can be applied to homes, barns, and even the roof systems of elegant cathedrals. It’s a unique, solid, handsome, and time-honored style of building. There aren’t many timber framing courses available, so we’re excited to have brilliant and expert instructors to teach this craft!
Timber framing utilizes heavy timbers instead of thin framing wood (like 2×4’s). These timbers are connected using elegant and strong joinery, which interlocks the timbers and incorporates wooden pegs to secure them. Incredibly, this method of connection is much stronger and more lasting than using metal fasteners, which, over long periods of time, can attract condensation and break down surrounding wood. The result of timber framing is a building with an open floor plan, flexible wall materials, gorgeous exposed beams, and great durability.
Before the late 1800s, most buildings in the United States and Europe were timber framed. That’s because timber framing doesn’t rely on metal fasteners and sawmilled lumber, both rare luxuries at that time. These days, timber framers practice the art for its beauty, durability, strength, and craft. Timber-framed structures are both desirable and valuable.
Standing in a timber framed building is truly an experience; it’s like being embraced by a marriage of trees — their strength and beauty — and human ingenuity. You can feel the craftsmanship and love that goes into the joinery, and the breathtaking aesthetics of artfully exposed beams.

What Our Timber Frame Workshop Students Say
scroll right to read more
Lee
New York
Operations Manager
“I learned so much from start to finish—from tool use, to different layout options, to knowledge about wood and actual timber. We got to see a sawmill in use right here on this amazing property, plus we experienced a full timber-framed barn as our classroom. All of our instructors were absolutely amazing and I really appreciated the level of thought put into the care of us students.”

Thomas
North Carolina
Filmmaker
“I cannot recommend this timber frame workshop enough. Wild Abundance provided a welcoming environment regardless of prior experience and the entire Ivy Creek Timber Frames team was courteous, approachable, and deeply knowledgeable in their craft. As someone looking to grow in my knowledge of joinery and hand tool use, I felt like there was no question they left unanswered.”

Alyse
New York
Operations Manager
“I had a wonderfully fulfilling experience with Wild Abundance and the Timber Framing Class. That the class was hands-on and active, and that I was able to ask questions without judgment really enabled me to get the most out of the learning experience. I would highly recommend Wild Abundance, no matter your skill level, as there is always something new to experience! “

TC
Arizona
Poet Laureate
“I especially loved being in a timber framing class that emphasized collaboration, asking questions, and taking the time needed to understand techniques. As a trans person, I also loved seeing healthy masculinity modeled by male teachers who were comfortable getting feedback from each other and from the attendees.”

Issac
North Carolina
Engineer
“I strongly recommend this course with Ivy Creek Timber Frames if you’re interested in stepping away from the virtual rat race for a bit and experiencing the reality of building a solid timber frame structure.”
What to Expect: Learn Timber Frame Construction
In this timber framing class, you’ll learn the fundamental skills you need to approach constructing timber frames yourself. Be part of a team that creates a frame of great beauty and strength. Gain satisfaction and competence with tools and the craft.
Safety in the shop and onsite
Working with large timbers can be intimidating, and safety is crucial. Throughout the class, we’ll place an emphasis on safety and communication so that everyone can relax and work together smoothly and calmly, even in the presence of sharp tools, big wood, and big machines. Even though we will employ machines during this class, we’ll also cover manual methods for moving heavy things safely, so that you can apply what you learn at home, even if you don’t have access to machinery.

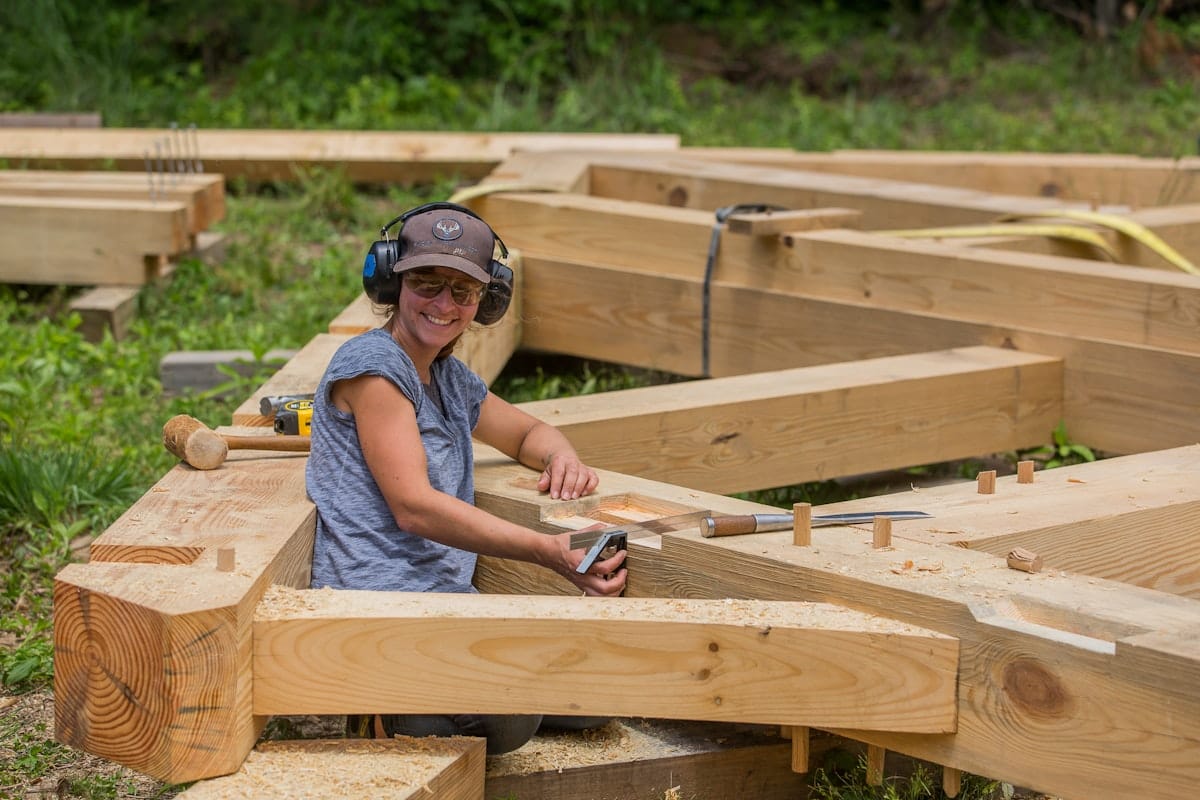
Learn how to layout, mark, and cut timbers for the frame
You’ll start by learning how to interpret the plans for the timber frame class project, then measure and mark where exact cuts will take place on blank timbers. After that, you’ll get plenty of practice with the tools of timber framing cutting exact pieces to be fitted together and raised into a beautiful frame.

Ready to Join?
Tools for Timber Framing
The tools unique to timber framing are uncomplicated and are similar to regular carpentry tools, but much larger in scale. In our timber framing classes, you’ll be asked to bring basic carpentry tools like a tape measure, a framing square, etc. In addition, you’ll be expected to bring your own timber framing chisel, mallet, low-angle block plane, and a Stanley bench plane (number three or four) or similar. These same tools can be used when you go home to work on your own timber framing projects, small or large. You will receive a list about where to get these upon registration.
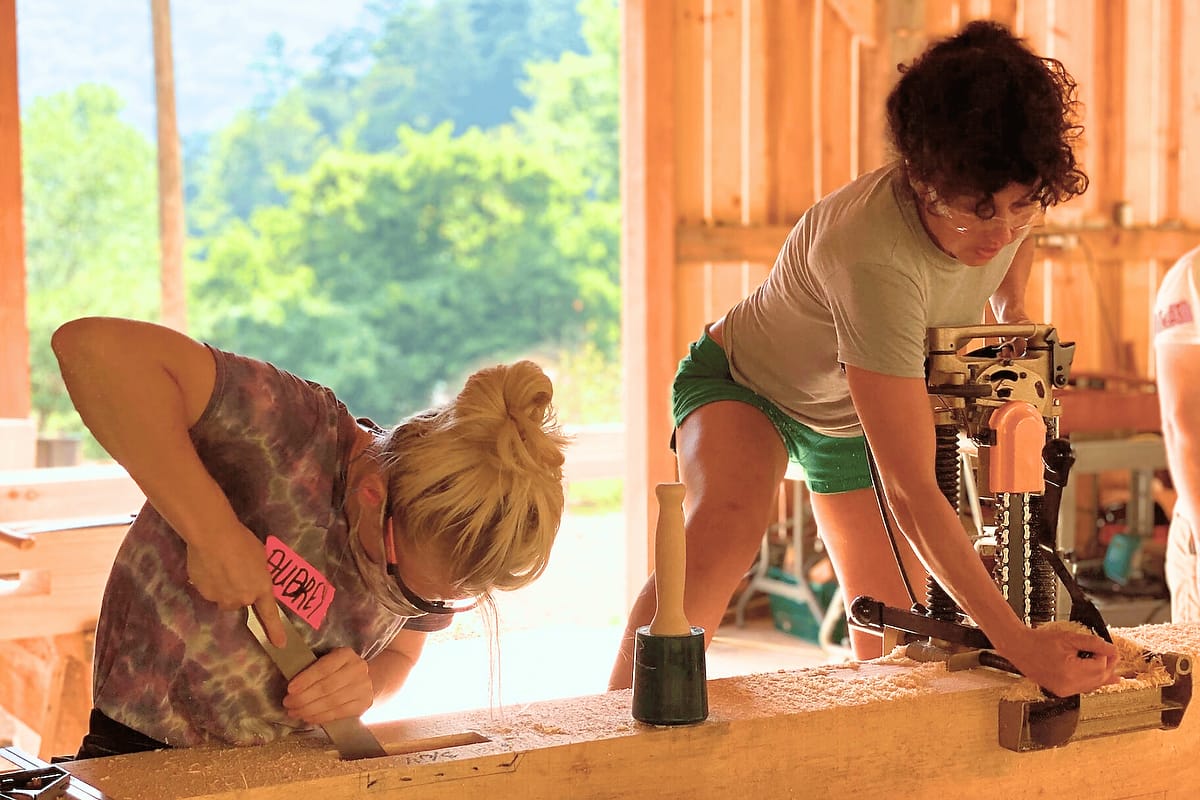
Along with hand tools, we’ll be working with modern power tools as well, some specific to timber framing. We’ll use chain mortiser’s, drills with guides, and large circular saws to make preliminary cuts, followed by hand tools for fine tuning. You’ll learn to cut away wood while retaining references and cutting platforms to create joinery. Larger shop tools will be provided. You’ll be encouraged to experiment with all the tools, but are not required to use tools you aren’t comfortable with.
Learn mortise and tenon joinery!
With these tools in hand, you’ll learn how to use framing and combination squares to lay out your joinery using the “square rule” method. Then, you’ll be shown how to safely and effectively make exact cuts to create mortises and tenons. The function of this method of building is beautiful in its simplicity while also incredibly durable. Precisely placed joinery will be cut into posts and beams that join and are held together with hardwood pegs, creating an elegant framework using simple principals.
")
Discussion of design considerations, terminology, and trusses
This is a hands-on class that includes demonstrations and conversations about wood choices, design/structure choices, tool and layout choices, and other considerations to provide a solid foundation for students to explore their own timber frame projects, at home and beyond.
Many essential topics will be covered throughout the timber frame workshop, including:
- How to read building plans
- Preparing measured layouts
- Using the tools of the timber framing trade
- How to cut posts, beams, and bracing
- Mortise and tenon joinery
- A mixture of traditional and modern techniques
Be part of creating something beautiful and useful.
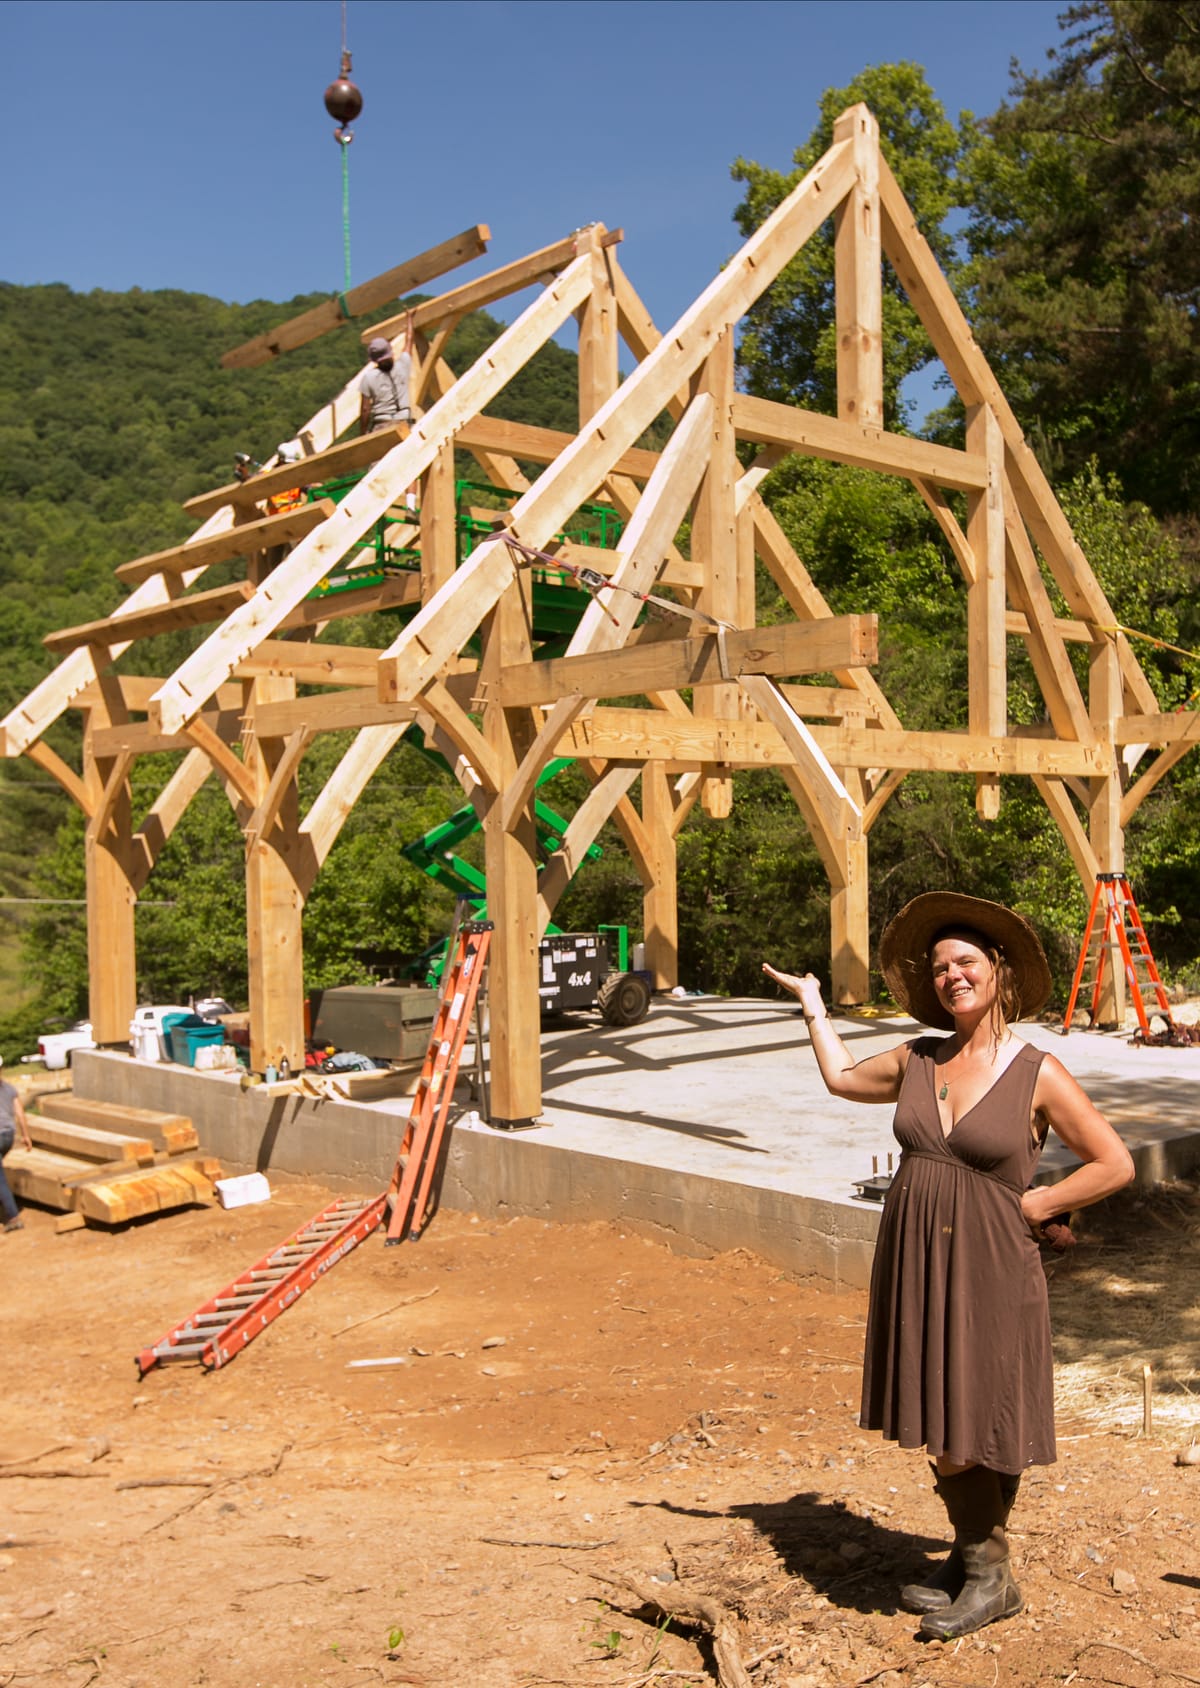
In the beginning, we’ll have a pile of timbers, tools, and plans; by the end, we will have the elements of a beautifully crafted timber frame! Through demos, careful instruction, and hands-on practice, you’ll learn how to do each step, including how to use some of the unique tools of the trade, and how to cut snug-fitting mortise and tenon joinery.
This class is completely hands-on; you’ll walk away with experience in every step of the process.
Who Our Timber Framing Classes Are For
Our timber framing classes are appropriate whether you want to build timber framed structures for yourself, are considering timber framing as a profession, or are a carpenter looking to expand your skills.
Here are some things to keep in mind when considering if our Timber Framing Classes are right for you:
- You should be up for a challenge: math, angles, and heavy timbers
- While you don’t need to have prior experience with tools, having some is definitely useful
- The Timber Frame Workshop is fun and rewarding, but not ‘easy peasy’
We’ll split up the class according to skill level managed by multiple instructors, so there will be accessible lessons for everyone, no matter what skills you begin with. You don’t need any prior knowledge of timber framing to take this class or prior experience with tools (although some tool experience will be helpful).
Whether you’re a total newbie or experienced builder, a novice carpenter or artisanal woodworker, you will gain a tremendous amount of knowledge and skill. Few experiences can replace attending a timber framing school with expert instructors.

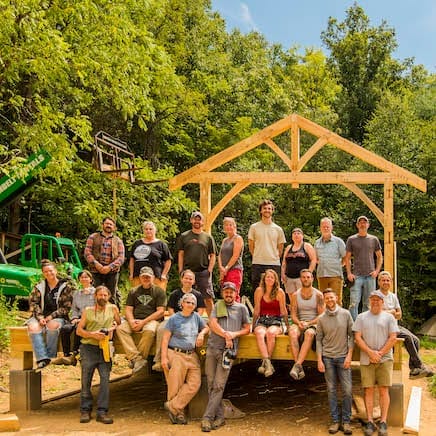
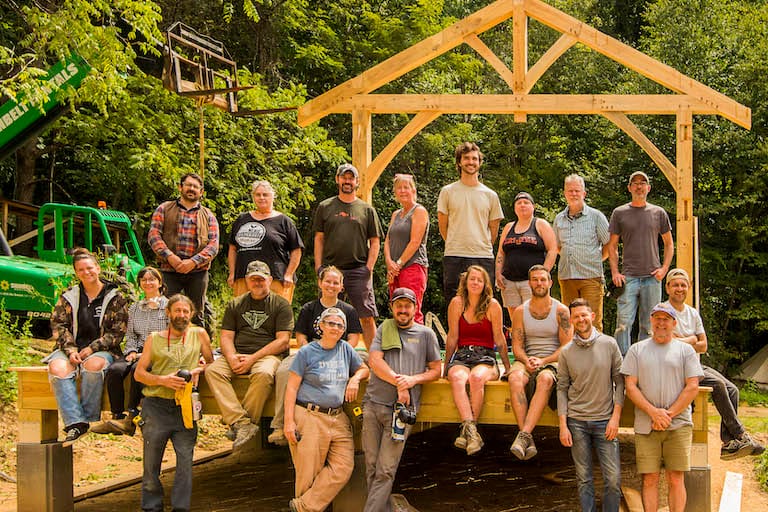
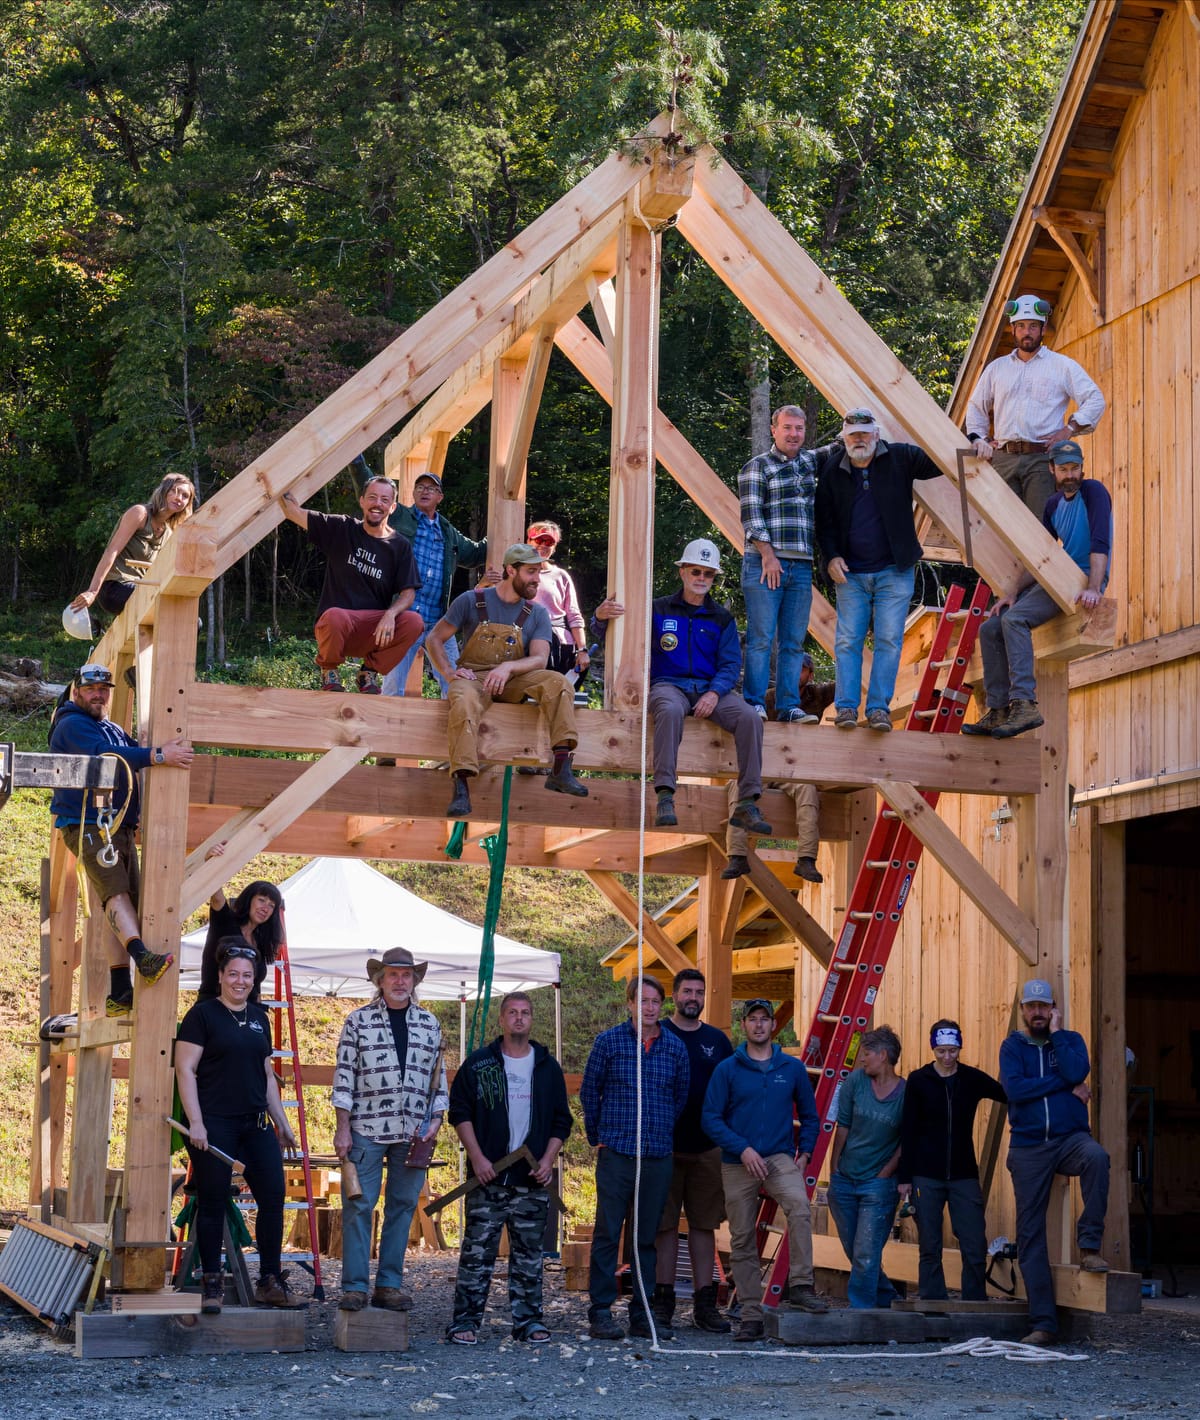
Build Community While Learning a Time-Honored Craft in Our Timber Frame Workshop
Something special about timber framing is that it’s always been a group endeavor; in order to succeed, it requires a community effort. Ever heard of old-time barn-raisings? Those barns were timber-framed!
During this class you’ll be collaborating with fellow students, finding a flow for working together, and enjoying a special sense of connection that only comes from working on a big project as a team. Many of our past students have remarked that this sense of community is a significant highlight of learning with us.
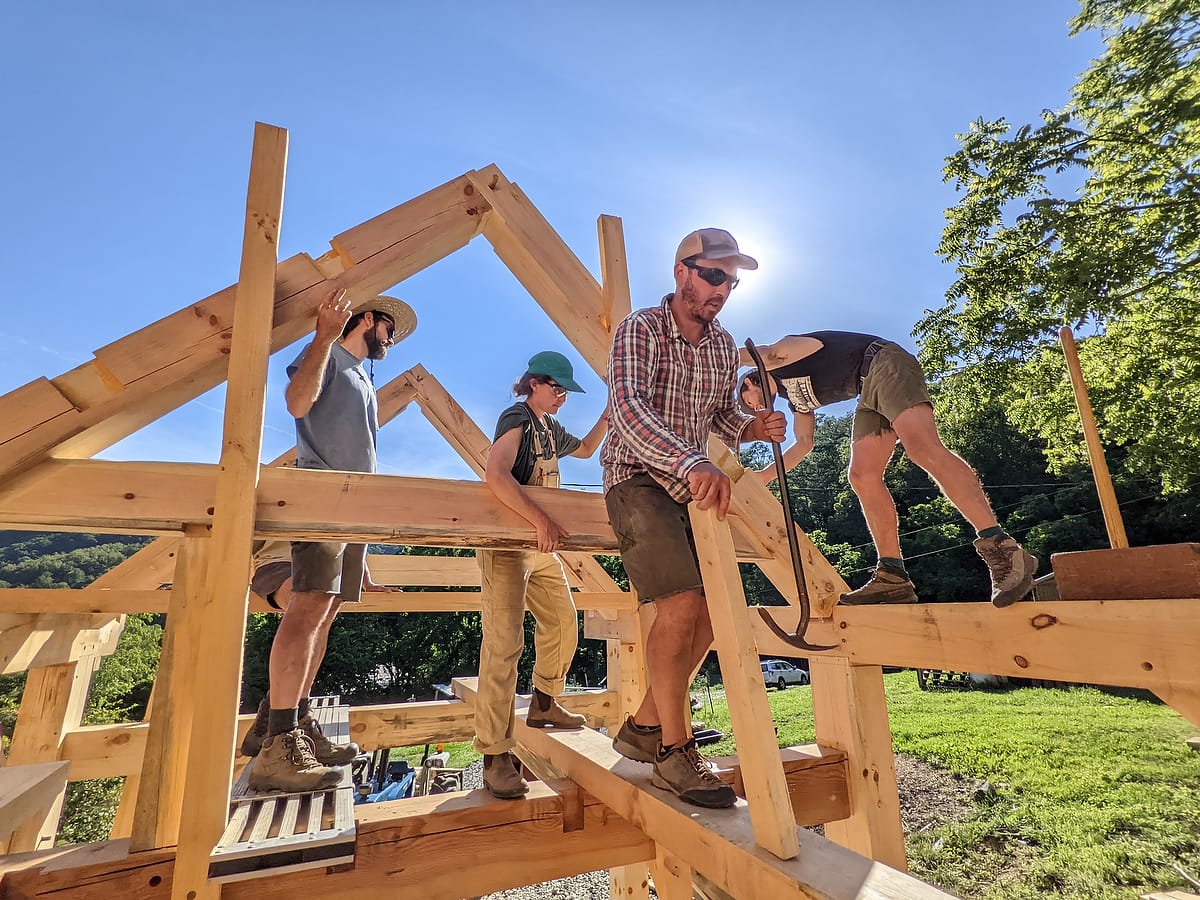
Throughout this class, we’ll communicate with and support each other so that we can collaboratively craft a beautiful building. Then, at the end, we’ll assemble, fit, and raise the frame with our collective strength, and the help of some big machines.
Frequently Asked Questions About Our Timber Framing Classes
We ask that you have some basic skills, including safe tool use, but newbies are welcome. In addition, if you happen to have more building experience, it will likely enhance your learning in the class. That being said, if your experience is limited, but you’re excited to learn, you’ll get a lot out of this workshop.
Definitely, yes! Timber framing is a unique technique and will broaden your skill set. If you’re a professional carpenter, this class could lead to you incorporating timber framing into your designs and projects.
Yes, we suggest that students bring their own hand tools and safety gear to the class. If you can’t get a hold of everything, we’ll have some extras, but we do require that each student bring their own safety gear. Upon registration, we’ll send out a list of specific tools and suggestions for where to get them.
The nature of the joinery that we use will help you understand how to design future small buildings that you might want to create. Also, we’ll be working from a drawn-out design plan, so you’ll learn how to interpret plans for timber framing. To be clear: this timber framing course is not focused on design, but you will learn about design throughout the building process.
That’s what we have calculators for! There is some basic math involved in timber framing but you won’t have to do it in your head.
Yes, we’ll discuss options for finishing walls and enclosing timber frames, but this isn’t a main focal point of the class.
After taking this class, you’ll understand the basic principles of timber framing and you’ll have had hands-on experience with every step. If you already have some proficiency with carpentry, this class will be like a gateway for your hands and mind; it will provide you with new tools and ideas for assembling buildings. If you’re super fired up and get some more practice right away, this could very well be your first step toward becoming a professional timber framer!
Brian Snedecker is the lead instructor. Each year he hand picks a few seasoned timber framing teachers to assist with instruction.
Brian Snedeker
The Timber Frame Workshop is held near Asheville, NC at Ivy Creek Timber Frames
Unlike many of our classes, the Timber Frame Workshop is NOT held at the Wild Abundance Campus. Instead, the class meets at instructor Brian Snedeker’s beautiful 40-acre homestead and timber frame workshop, Ivy Creek Timber Frames. It’s just down the road from Wild Abundance, in Barnardsville, NC. Students will receive detailed information about the site, plus directions, upon registration.

Pricing for Our Timber Framing Workshop
For 7 Day Class: $1300-$2600*
*Please pay what you can within this range. The median price helps cover the class costs. Choose the low end if you’re low income, or the maximum fee if your household earns over $115,000/year. Place yourself within this range based on your income.