
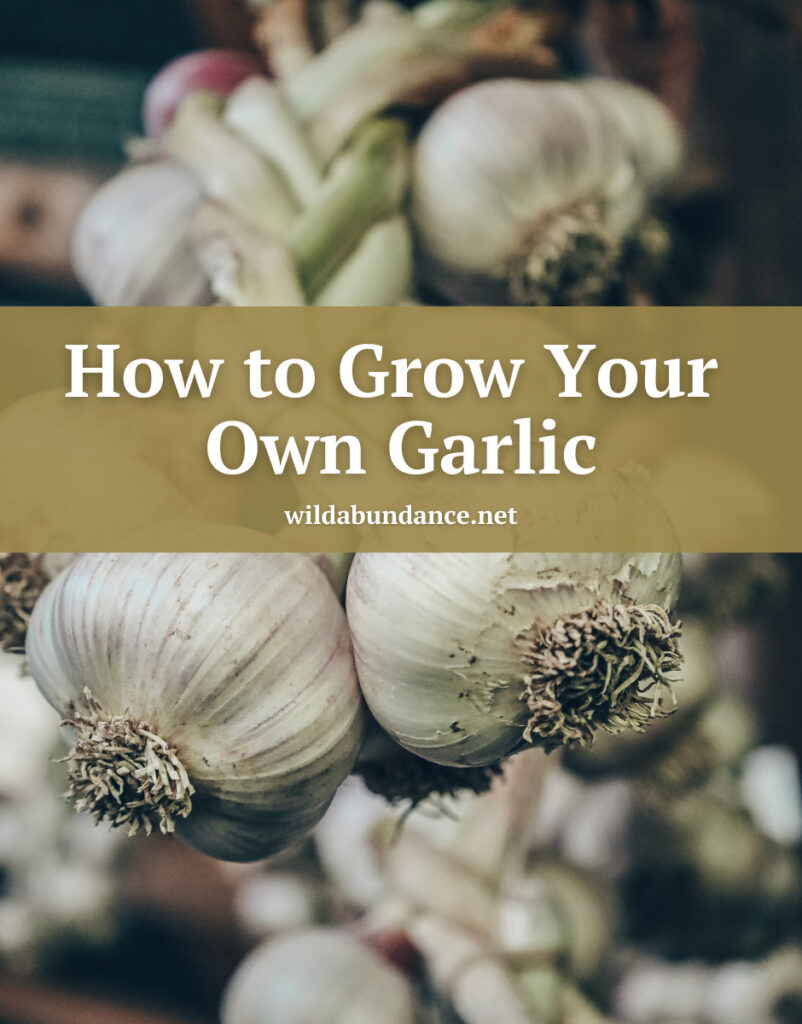
There’s nothing quite like homegrown garlic. The rich, robust flavor of garden-grown garlic truly shines compared to what’s available in the grocery store. And growing your own garlic is rewarding and relatively simple. In this post, we’ll teach you how to grow your own garlic from an individual clove to a big, hearty bulb.
Grow your own garlic from a clove
Late fall isn’t the time for planting most things in the garden, but it is the time of year for planting garlic. We always plant garlic in the fall so that it can reach maximum size come summertime. Spring-planted garlic doesn’t properly develop, as the summer solstice triggers it to finish up its season too quickly.
When growing your own garlic, you plant an individual clove that produces an entire head of garlic. In other words, garlic cloves are like “seeds” (though they’re not actually true seeds). In fact, when you grow your own garlic from a clove, you’re actually cloning the garlic. Basically, you’re taking part of a bulb of garlic and putting it in the ground to make more garlic. There’s no fertilization happening – the garlic clones itself over and over again. Another word for this is vegetative propagation.
Step 1: Order garlic or propagate your own
To grow your own garlic, you’ll need to either order it from a seed company or propagate from garlic that you’ve grown and saved. There are two types of garlic – hardneck and softneck. Hardneck garlic varieties thrive in cold winter weather, produce fewer but larger cloves, and have a central, woody stem. They also produce scapes, or flower stalks. Softneck varieties, on the other hand, like mild winters, produce more but smaller cloves and don’t have a central, woody stem. Some garlic varieties that we recommend include German Extra Hardy, Music, and Porcelain.
If you choose to grow garlic from bulbs you’ve already cultivated, that’s great! When propagating your own garlic, you want to select the best garlic heads possible. It’s ideal to choose cloves from heads of garlic that are big, easy to peel, and free of disease. We don’t recommend propagating grocery store garlic, as you won’t know what, if any, kinds of chemicals were used on them.
Step 2: Plant your garlic
The first step in planting it is to break up your garlic heads into cloves. You need to be delicate with this process, as you don’t want to pierce the cloves before planting. Ideally, the paper around the clove will be left intact. If a little of the paper is rubbed off, don’t worry about it; the garlic will still probably come up just fine.
Prepare your garden bed as you would for direct sowing. In other words, make sure that the bed is free of weeds and raked smooth. Then, make furrows 2.5 – 4″ deep (depending on the size of your cloves), about 10 – 16″ from each other. We sprinkle a small amount of bonemeal in the furrow and surrounding dirt that will be used to fill the trench back in. Bonemeal provides phosphorus, which encourages root growth. Cloves of garlic are then planted with the root side down and the pointy side up, 6-8″ from each other. After planting, label the bed with the variety you’re growing and cover the cloves with soil. Gently water in the garlic cloves, too.
Check out the video below to see how to prepare and plant your garlic.
Growing garlic in pots
Curious about how to grow garlic in pots? All you need is a pot or container at least 8″ deep with good drainage holes. Also, the pot should be large enough to space your cloves at least 6″ apart. Be sure to use high-quality, well-draining potting soil, too.
Step 3: Mulching your garlic
After planting your garlic cloves, cover the bed or row with a generous 4 – 6″ of mulch. The mulch will help the garlic to tolerate the cold and keep your bed weed free. Even if you live in a warm climate, we recommend mulching your garlic because it does not like weed competition. Be sure to mulch your garlic grown in pots, too! The mulch will stay on the garlic until the spring, when it’s time for fertilizing. If you find your mulch thinning in the colder months, then be sure to add some more.
Step 4: Watching, waiting, and scaping
Now you may be wondering: how long does garlic take to grow? The answer is most varieties take nine months to mature. Yes, it takes as long to grow garlic as it takes to grow a baby! Here in Southern Appalachia, the ideal planting time is October – November, and harvest time is July. You may be able to get away with planting in December, too. Once you’ve got your garlic cloves in the ground, it’s a low maintenance waiting game.
As you watch and wait, you’ll notice that there are a few distinct garlic growing stages. Here’s a quick overview of them:
Sprouting
It usually takes between 1 – 2 months for your garlic to start sprouting. To be sure, you can take a peek under your mulch to witness the bright green young growth. Warmer weather will cause quicker sprouting; even moisture is necessary for sprouting, too.
Spring or green garlic
Come early spring, your garlic will look very similar to a green onion. Individual cloves won’t be formed yet, and the garlic will have a mild flavor. If harvested, spring garlic should be used fresh as it won’t store well.
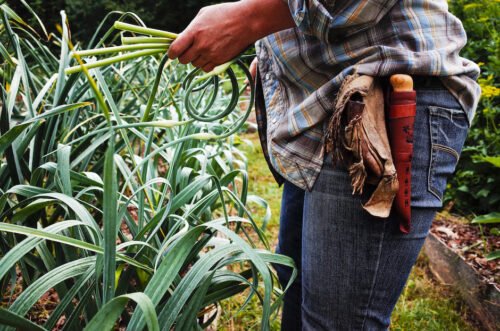
Garlic scapes
Hardneck garlic varieties have scapes, or flower stalks, that emerge in early summer. Once your garlic starts scaping, you’ll want to harvest them from the plant. This allows all of the plant’s energy to go into bulb production. Luckily, garlic scapes are super versatile and delicious. You can use them in soups and stews and can even pickle them! Use pruners or a quick twist of your fingers to harvest garlic scapes easily.
 Young bulbs
At this growth stage, garlic bulbs will be small, reasonably mild tasting, and don’t have a papery skin layer. Like spring garlic, you’ll want to use young bulb garlic fresh.
Mature bulbs
The mature bulb stage is the goal! Your garlic will likely be at the mature bulb stage within 3 – 4 weeks of removing scapes. At this stage, bulbs are fully formed with individual cloves and have a papery skin layer. Mature bulbs have a robust flavor and can be cured and stored for later use. Leaving garlic bulbs in the ground past the mature bulb stage will make the cloves separate a bit. When this happens, they won’t store very well.
Flowering
If you keep scapes on some garlic plants, they will eventually flower. These flowers will produce bulbils, which are tiny bulbs. Bulbils can be eaten and also planted to grow more garlic.
Step 5: Fertilizing
Come early to mid-springtime, you’ll want to weed and fertilize your garlic. Do this by clearing out the mulch and weeding the garlic bed really well. Then, sprinkle some bonemeal onto the soil in between your garlic rows. Be sure to re-apply your mulch to keep your garlic plants happy and weed-free. You may need to add more mulch at this stage, too. Garlic also loves nitrogen-rich fertilizers. Along with the bone meal, you can sprinkle some compost, manure, feather meal, alfalfa meal, or other organic fertilizer in with your garlic. One of our favorite ways to fertilize garlic is with pee. Yes, you heard right, we use urine as a fertilizer for garlic. Another liquid option is fish emulsion (equally stinky but somehow easier for some folks to accept).
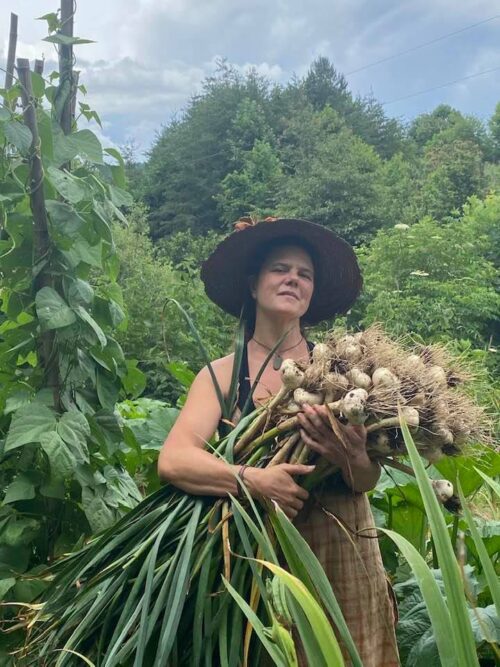
Step 6: Harvesting
You’ll know that your garlic is ready to harvest when about one-third of its leaves start to look yellow. When it comes time to harvest, the soil’s moisture level can affect harvesting. If the ground is moist, garlic is easily pulled, but comes out quite dirty. If the ground is dry, you may need to use a digging fork to get the garlic out.
After harvesting, clean off your garlic with a hose or your fingers. Focus on removing the dirt from the root tips rather than spraying or rubbing the garlic bulb. This is because, if you do spray the garlic, you may accidentally remove layers of papery skin. If this happens, eat that garlic sooner rather than later. For the garlic you want to keep for a long time, you don’t have to clean it off. Once the garlic is as clean as you want it, trim off the roots with a pair of pruners or a knife. This is also a good time to separate your garlic by use. Choose and save the garlic that looks good enough to propagate next year and the garlic that you’ll store and eat.
Step 7: Curing
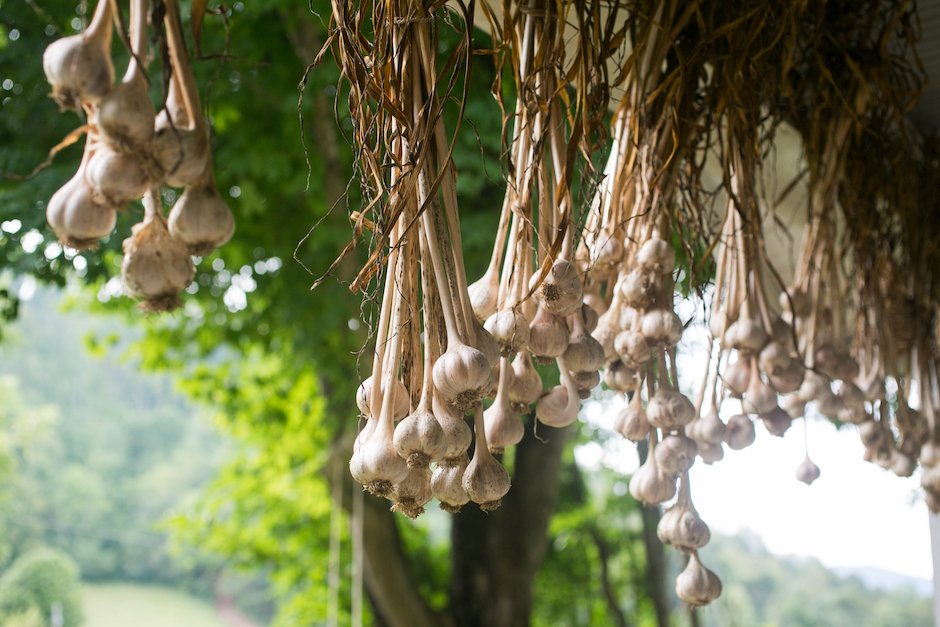
If you want to store your garlic, then it must be cured. Once you’ve washed your garlic, let it sit outside for three and six days. You’ll want to put it under a roof cover and in a shady place with good ventilation. After a few days, the leaves will start to wilt significantly. Once leaf wilt has been accomplished, you can bunch or braid your garlic, or remove the leaves and store in a crate or box. We braid both softneck and hardneck varieties.
Check out the video below to learn how to braid garlic.
Once you bunch or braid your garlic, it must be hung in a dry place out of direct sunlight with good airflow. The idea with hanging is that air can get around each head of garlic. You can leave your garlic hanging outside until the first frost, as needed. At that point, you can bring it inside to enjoy all winter long. If you choose to cut the leaves off your garlic, keep the cloves in a crate with holes or an open cardboard box, in a single layer. Airflow is crucial for good storage, however you keep the garlic.
Garlic can be used in a variety of ways. It can be used medicinally as an antifungal and antibacterial, both internally and externally. Garlic can be used in cooking too, minced and added near the end of a sauté. We also like to blend garlic into raw sauces, like pestos, and use whole heads with beans and stews. We are garlic lovers who enjoy growing and eating it, and we hope you will, too!
To learn more about ordering and growing garlic, fertilizing, mulching, scaping and more, check out our Online Gardening Class. Learn more about the online class and sign up for the waitlist to be notified when enrollment opens, plus receive special offers.
 On Facebook
 On Instagram